
Often with wear and tear, the threaded holes of various objects and machines might get damaged. However this in no way means that they are rendered useless. You can easily repair these by using thread repair inserts.
When a machine or any other thing has been used for quite some time, it starts showing signs of wear and tear. Often you might see that certain parts start wobbling due to loosened screws. This generally happens when the thread into which these screws are inserted get damaged. What do you in such a case? Replace the object? Well, you can do this is the object is small but in case of large machines and expensive fixtures this is not at all a feasible option.
In such a scenario, use thread inserts to repair these damaged threads. What’s more, this is quite an easy task which you can do all by yourself.
Here are some easy steps to repair a damaged thread using threaded inserts:
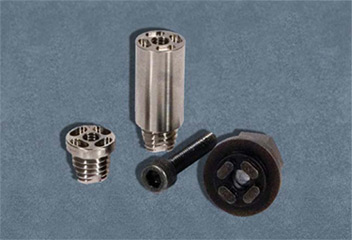
- Gathering the Tools: First and foremost you need to get all the tools that will help you in repairing the damaged thread. The tools include:a. Threaded insert whose size depends on the size of the hole and the screw
b. Drill to enlarge the hole
c. A tap that fits the hole and creates the thread into which the threaded insert can be pushed
d. Special tool which will push the insert into the hole
e. A screw driver and a hammer - Understanding the Process: Once you have got all the tools with you, you are all set to repair the hole. However, before you start, it would be a good idea to understand what you intend to do. You need to drill the hole to a larger size, then tap it with the properly fitting tap and screw in the insert into the tap.
- Drilling the Hole to Enlarge it: The first step in repairing the thread is to drill the hole to make it bigger than its original size. However, be sure that the hole is large enough to house the tap as well as the insert, but at the same time not too large either.
- Tapping the Hole: Once you have successfully enlarged the hole, the next step is to insert the tap into the hole. It is into this tap that you will be inserting the thread insert. Generally, the thread inserts come with a tap which is quite convenient.
- Inserting the Insert: Now you need to insert the threaded insert into the tap. For this you need a special tool that is readily available in the hardware stores. Place the insert at the tip of this tool and screw it into the tap.
- Finishing Off: After installing the insert, you might want to remove the tang of the insert. You can do this by placing a screwdriver on the tang and then hitting it with a hammer.
Repairing a damaged thread is not as difficult as it might sound. Once you have repaired it, you can easily put in the screw and tighten it to make the machine as good as new.


